How to enable/disable Redis Object Caching


Enabling Redis Object Caching on Staq can be done in just a few clicks. Below are the steps to enabling Redis Object Caching:
Navigate to “Go Live” via Staq Panel
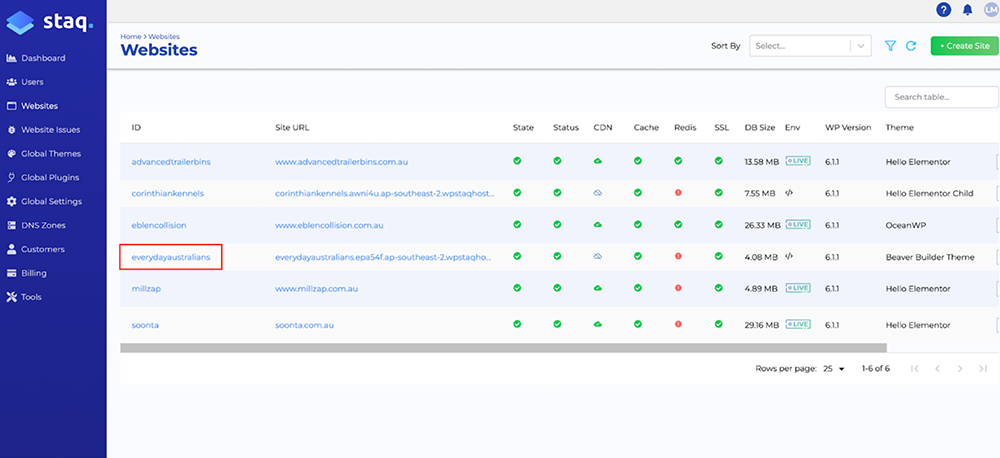
Navigate to the Staq Panel of the website in question by clicking on the website ID from the Websites Table:
Once viewing the Staq Panel, click ‘Redis Object Cache’ under ‘Databases’.
Enable Redis Object Caching
Under ‘Object Cache’ screen, enable it via the dropdown.
Once set to ‘Yes’, click ‘Save’.
Verify Redis Object Caching is enabled/disabled via WordPress
Login into the backend of the website in question and click Staq Hosting from the top toolbar and select Settings.
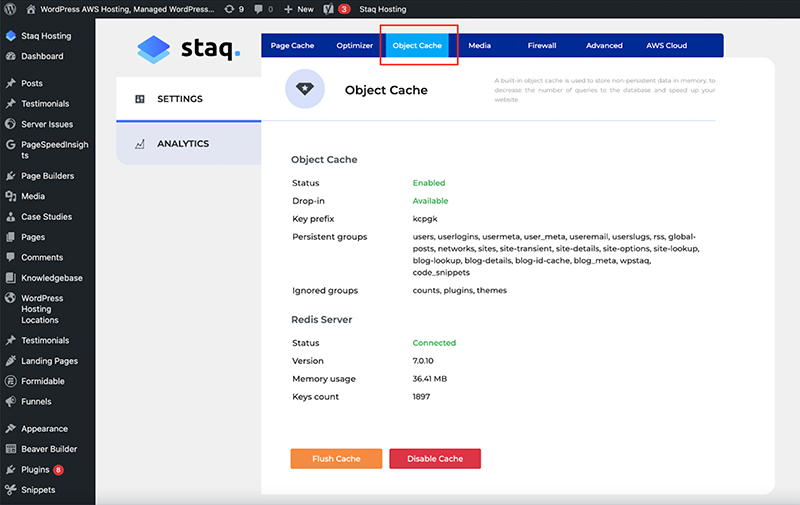
Select Object Cache from the menu.
For example, if it was enabled, you’ll see the same message below. Otherwise, it will tell you it’s disabled.
Flushing Redis Object Cache from Staq dashboard
By disabling Redis Object Cache from the Staq Dashboard will automatically flush the cache. You can then re-enable.
Flushing Redis Object Cache inside WordPress
Inside the WordPress site that’s hosted by Staq, go to the Staq Hosting plugin and click Object Cache. Click Flush Cache to flush it


