Enable Next-Gen CDN Instructions


This is a game changer feature of Staq. It improves both security and performance.
The Staq Next-Gen CDN is a reverse proxy. How it works is this.
A reverse proxy, in our case, AWS CloudFront (CDN) sits in front of the server. Each request that is made goes to AWS CloudFront instead of the server. This improves security because AWS CloudFront have a product called AWS Shield which protects against harmful attacks. Also, the pages that is accessible via AWS CloudFront are static in nature.
It’s also fast because the website is cached inside AWS CloudFront and is stored across the AWS ecosystem. Wherever search engine bots and users are, the website is served from the closest location instead of using the server.
Staq intelligently reroutes request from AWS CloudFront back to the server if a server request is required i.e. a WooCommerce order or a contact form submission.
Below, are instructions on how to enable this game changer feature.
Enabling Next-Gen CDN
You can only enable this feature if Staq DNS has been enabled. For more information, see information on how to transfer to Staq DNS.
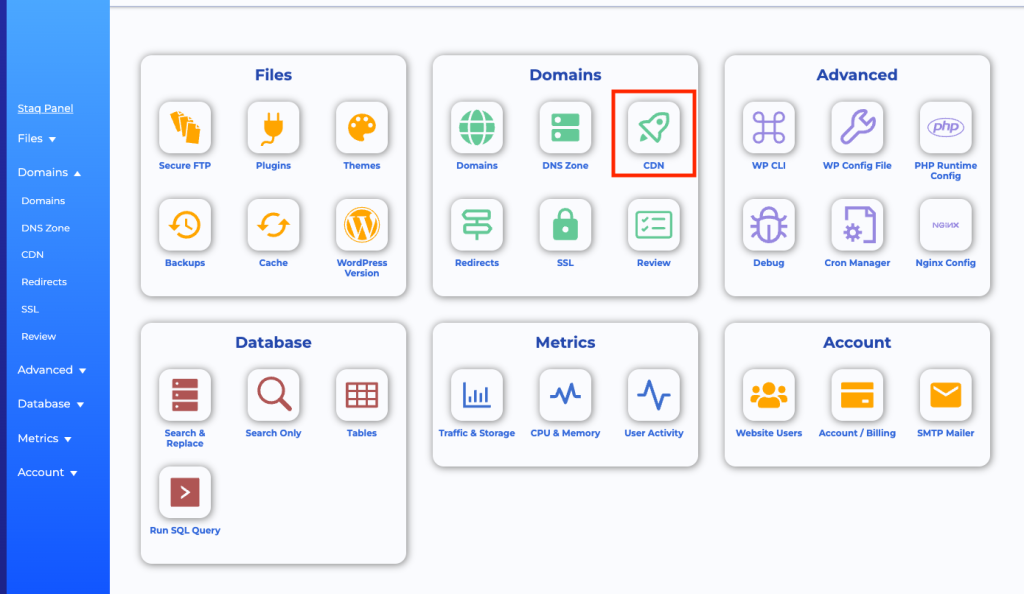
Go to Staq Panel for the website in question and click CDN:
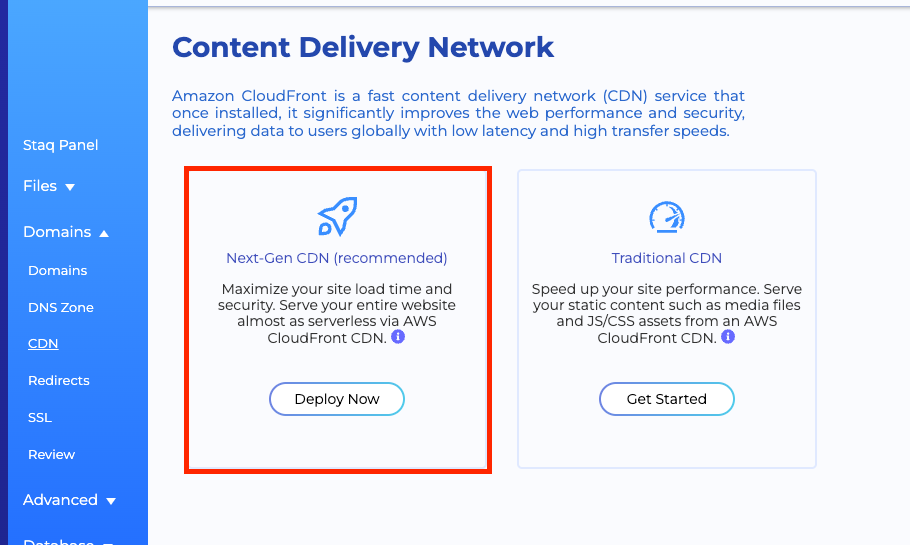
Deploy Next-Gen CDN
Under Next-Gen CDN, click Deploy Now. From this point, you do not have to do anything. Staq will automatically configure everything in the background. Below are messages that you will see in order to see the progress.
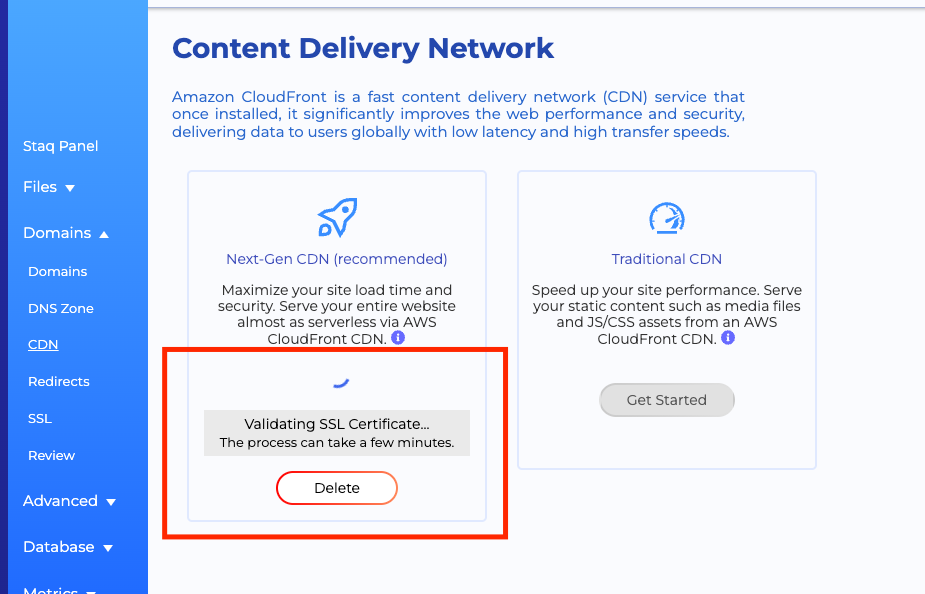
Validating SSL Certificate
Moments later, you should see Validating SSL Certificate:
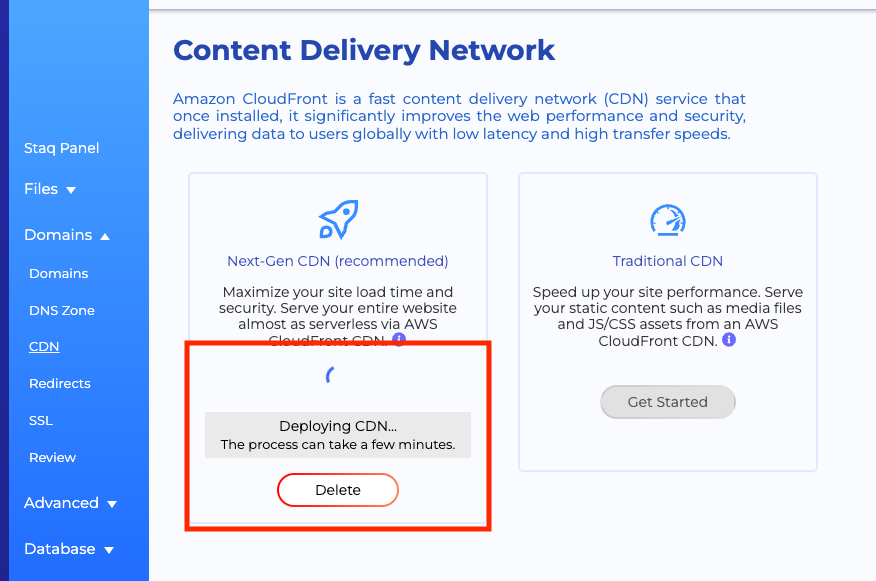
Within a few minutes, the progress should go to the last step which is Deploying CDN:
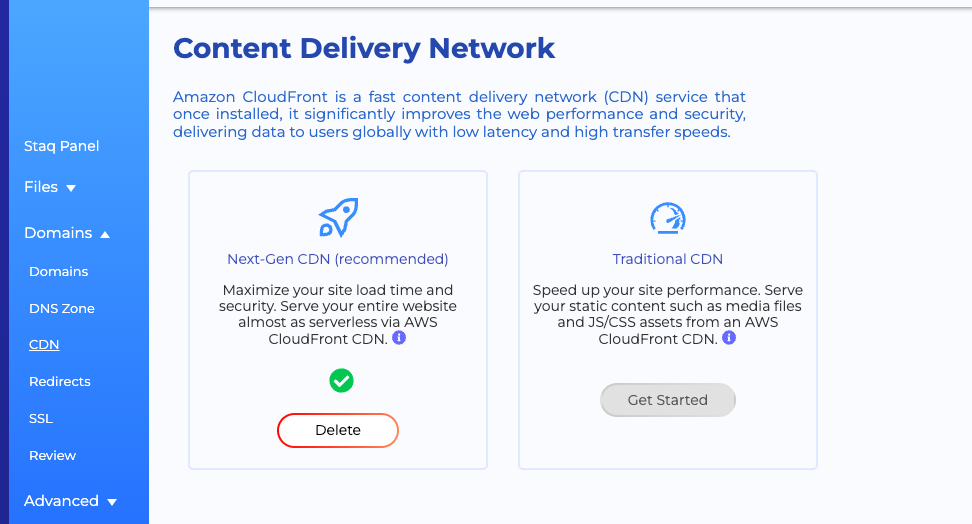
Within 5 minutes, you should see a green tick:


